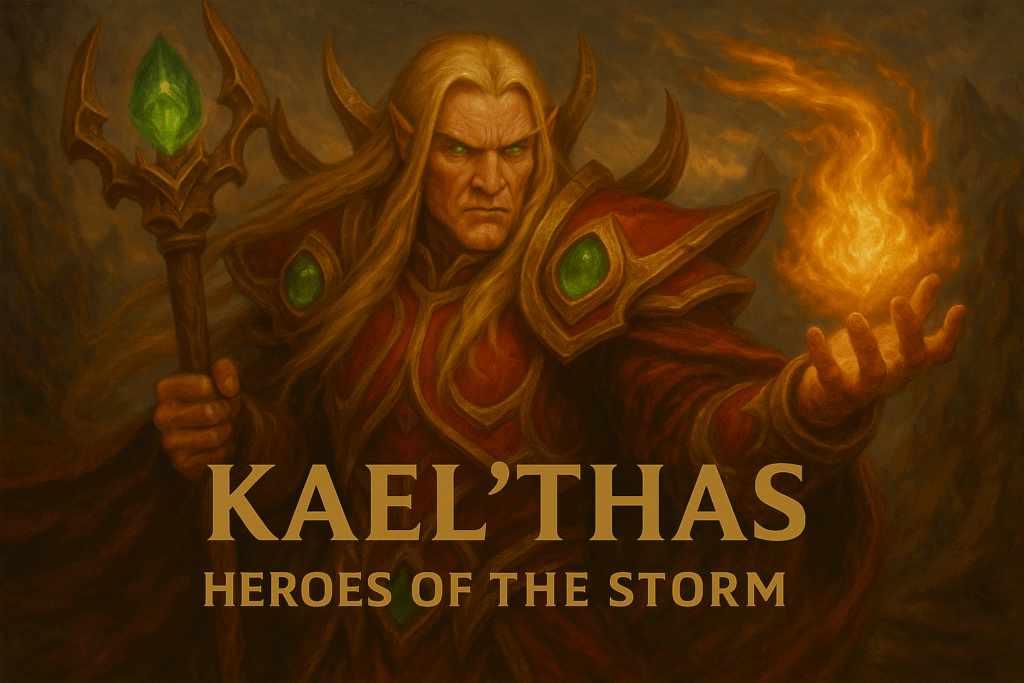
Quick Answer
If you are looking for the best Kael'thas build in HOTS and how to punish clumped teams properly, this guide breaks it down in a practical, real-match way. Kael'thas is a burst mage who wins through spread damage, empowered spell timing, and objective fight presence that makes bad spacing feel fatal.
This guide helps you stop throwing Living Bombs for noise and start using Kael'thas around real spread windows, stun setups, and fight-breaking Heroic timing.
He feels terrifying the moment one bad spread turns into three burning health bars and the enemy realizes there is nowhere comfortable left to stand.
Hero Identity and Role Breakdown
Kael'thas is one of the clearest spacing checks in HOTS. Verdant Spheres turns good sequencing into real burst, Gravity Lapse creates the opening, and Living Bomb punishes teams that get lazy about how closely they stack around objectives or saves.
He also punishes impatience on your side. If your stun is rushed, if your empowered cast is spent on low-value poke, or if you walk up trying to prove you are a brawler, Kael'thas loses a lot of the fear factor that makes him worth drafting.
Kael'thas Abilities Explained
Verdant Spheres (Trait - D) Every third ability cast is empowered with additional effects. Flamestrike (Q) Delayed area damage spell that can be cast at long range. Living Bomb (W) Places a bomb on target that explodes for area damage after a delay. Gravity Lapse (E) Stuns enemies in a line after a brief delay. Phoenix (R1) Summons a phoenix that flies across the battlefield dealing damage. Pyroblast (R2) Channels a massive single-target nuke with global range.
Kael'thas becomes special when Verdant Spheres, Gravity Lapse, and Living Bomb all point at the same mistake instead of being used as separate little damage events.
How to Play Kael'thas (Step-by-Step)
- Use Verdant Spheres with a purpose instead of spending it just because it is ready
- Spread Living Bomb through the wave when the next fight is far away, not when a skirmish is about to start
- Save Gravity Lapse for a target that already used mobility or got nudged into a predictable path
- Hold one extra step of distance so divers have to show their plan before you answer it
- Pre-cast Flamestrike on choke points and retreat routes when an objective is about to matter
How to Play Kael'thas Effectively
Kael'thas looks simple until you start respecting how much his mana and empowered casts shape the whole lane phase. If Verdant Spheres is always spent on the first convenient wave, his mid-fight threat drops fast. The better pattern is to keep asking whether the next empowered button belongs to waveclear, poke, or an actual kill window.
In teamfights, he wins through timing more than raw spam. Flamestrike becomes brutal when the enemy already has fewer places to stand, and Gravity Lapse is far deadlier when it catches the target after the first sidestep, not before. Once one Living Bomb spread lands on a team that cannot fan out cleanly, the whole exchange starts feeling flammable.
Around objectives, Kael'thas gets stronger the tighter the battleground becomes. Shrines, narrow turn-ins, and retreat corridors all make his spell order much easier to trust. That is often where one correct cast stops being poke and starts becoming the fight itself.
The beginner-friendly version is simple: decide your empowered spell before the fight sharpens, save stun for a real setup or punish, and do not stand close enough to make your own spacing the problem.
In some games, Kael'thas can feel slow if the enemy respects spread perfectly - that is normal. He starts taking over once the first objective pileup or panic save gives Living Bomb the exact window it wanted.
Best Kael'thas Builds (Level 1 to 20)
Convection at level 1, Mana Adept at level 4, Living Bomb at level 7, Phoenix at level 10, Burned Flesh at level 13, Ignite at level 16, Rebirth at level 20
Gameplay Focus - Living Bomb Chain (Area Devastation)
Chain reactions, area damage, teamfight control
The Living Bomb Chain build transforms Kael'thas into a teamfight monster capable of wiping entire enemy teams through devastating chain reactions. This build focuses on maximizing the spread and damage of Living Bomb, creating explosive chain reactions that can delete grouped enemies in seconds. Convection provides scaling damage throughout the game, rewarding good positioning and consistent hero hits. Mana Adept ensures you have the mana pool needed for extended teamfights, while the enhanced Living Bomb at level 7 becomes your primary teamfight tool. Phoenix provides excellent area control and damage, and the synergy between Burned Flesh and Ignite creates unstoppable chain reactions. This build excels in teamfight-heavy compositions and against enemies who tend to group up frequently, making it devastating on maps with narrow choke points or clustered objectives.
Convection increases Flamestrike damage permanently when hitting heroes, scaling your damage throughout the game. Mana Adept increases your maximum mana and spell power based on mana percentage, enabling longer fights. Living Bomb Enhancement makes empowered Living Bombs spread to nearby enemies, creating chain reactions. Phoenix provides consistent area damage and control, setting up your bomb chains perfectly. Burned Flesh reduces enemy spell armor when they take ability damage, amplifying all your subsequent damage. Ignite makes your abilities spread Living Bomb to nearby enemies, creating massive chain reactions. Rebirth makes Phoenix revive after death, providing incredible teamfight presence and area denial.
Always try to empower Living Bomb in teamfights for maximum chain potential. Use Phoenix to force enemies together, then follow up with bomb chains. Target the enemy most likely to be near their teammates with Living Bomb. Position near walls or choke points where enemies can't easily spread out.
In short, You're the Chain Reaction Master . Turn enemy positioning against them with explosive bombs that spread like wildfire through their ranks.
This build is brutal when teams stay clumped, but it loses a lot of punch if the enemy disengages cleanly and never gives Living Bomb a real chain.
This wins fights when one empowered combo lands on the hero the enemy team is about to stack around.
Alternative Kael'thas Build (Level 1 to 20)
Fel Infusion at level 1, Mana Adept at level 4, Gravity Crush at level 7, Pyroblast at level 10, Barrier at level 13, Fury of the Sunwell at level 16, Master of Flames at level 20
Gameplay Focus - Flamestrike Barrage (Long-Range Artillery)
Long-range poke, burst damage, zone control
The Flamestrike Barrage build transforms Kael'thas into a long-range artillery mage who can control entire areas of the battlefield through relentless Flamestrike barrages. This build maximizes your ability to deal damage from extreme range while providing the survivability needed to stay alive in team fights. Fel Infusion provides early game sustain and mana management, allowing you to cast more abilities in the laning phase. Mana Adept synergizes perfectly with your increased mana costs, while Gravity Crush gives you powerful area control and setup potential. Pyroblast becomes your signature ability, capable of eliminating key targets from across the map. This build excels against enemy compositions with limited dive potential and on maps with long sight lines where you can maximize your range advantage.
Fel Infusion provides mana sustain and increases your ability damage when hitting heroes, enabling more aggressive play. Mana Adept scales your spell power with mana percentage, rewarding careful resource management. Gravity Crush makes empowered Gravity Lapse deal area damage, giving you another powerful teamfight tool. Pyroblast provides incredible single-target elimination potential with global range and scaling damage. Barrier gives you a shield when taking damage, providing crucial survivability in teamfights. Fury of the Sunwell dramatically increases your ability damage and reduces cooldowns when empowered. Master of Flames makes Flamestrike leave burning ground, creating persistent area denial.
Use empowered Flamestrike for maximum damage in crucial teamfight moments. Pyroblast can be used to finish fleeing enemies or force them out of position. Save Gravity Crush for when enemies are grouped or trying to engage on you. Position aggressively but always have an escape plan ready.
In short, You're the Arcane Artillery . Rain down devastating magic from extreme range while controlling the battlefield through superior positioning and timing.
When the enemy has to brawl in tighter mid-range space, this path makes every connect feel heavier and every mistake spread further than they wanted.
Common Player Mistake
Most Kael'thas players fail here. They spend Verdant Spheres on comfort poke, throw Gravity Lapse at the first body in range, and never line their damage up with the enemy's actual stack point. In real matches, this is where Kael'thas starts taking over: when the save path and the bomb path become the same place. If the frontline is backing through the healer or the whole team is collapsing on point, that is your real Kael'thas window.
If you ever feel useless on Kael'thas, it is usually because your empowered casts are landing on the wrong target or your Living Bomb never reaches the players who have to stay close together.
Kael'thas is not subtle. One bad spread and the whole screen starts burning.
Real Match Situations
A healer steps in to save a bombed target. That is the dream chain. The rescue attempt is often what turns one Living Bomb into a full spread.
An objective forces both teams into a choke. Kael'thas loves this because people finally stop having easy room to spread and reset.
Your tank lands even a short stun on a squishy target. That can be enough. Kael'thas does not always need a long combo window, just a clean one.
One Thing to Know
Kael'thas wins when the enemy forgets that their safest-looking stack is actually the danger zone.
What Changes Through the Match
Early game Kael'thas is testing lane control, mana discipline, and whether your stun timing can create real pressure. Mid game, objective pileups make Living Bomb much more threatening. Late game, one spread or one heroic cast can erase an entire regroup attempt instantly.
Advanced Tips
Always try to empower Living Bomb in teamfights for maximum chain potential. That is usually the second where the hero stops threatening damage and starts actually deleting a target.
Use Phoenix to force enemies together, then follow up with bomb chains. Used on the real punish window, it turns a good setup into a dead hero immediately.
Use empowered Flamestrike for maximum damage in crucial teamfight moments. That is what makes the combo feel final instead of merely flashy.
Pyroblast can be used to finish fleeing enemies or force them out of position. When the timing is right, the enemy does not get a clean second chance after this lands.
Limitations
Kael'thas struggles when the enemy draft spreads naturally, when long-range poke forces him to show too early, or when dive reaches him before his control spells actually matter. He is powerful, but he wants readable fights.
FAQ
When should I pick Kael'thas? Pick Kael'thas when the enemy wants to group for heals, objectives, or short-range engages and your team can create simple stun follow-up.
Is Kael'thas good in solo queue? Yes, especially if you are good at punishing bad spacing, but he feels much weaker if you spend your empowered casts on whatever is easiest to hit.
What should I focus on most in fights with Kael'thas? Focus on where the enemy is about to stack, not where they are casually standing right now.
What is the biggest mistake on Kael'thas? The biggest Kael'thas mistake is treating Living Bomb like background poke instead of a punish tool for predictable clustering.
What habit improves Kael'thas the fastest? The fastest improvement is choosing your empowered cast a beat earlier so the combo actually lands in the real window.
Related Guides
If you enjoy assassins that take over games in different ways, also check our Jaina guide, Kel'Thuzad guide, and Gul'dan guide.
Final Thoughts
Kael'thas becomes much more rewarding once you stop asking the hero to do everything at once and start leaning into what actually makes them special. If you master these fundamentals, Kael'thas becomes one of the most impactful assassins in Heroes of the Storm.