Quick Answer
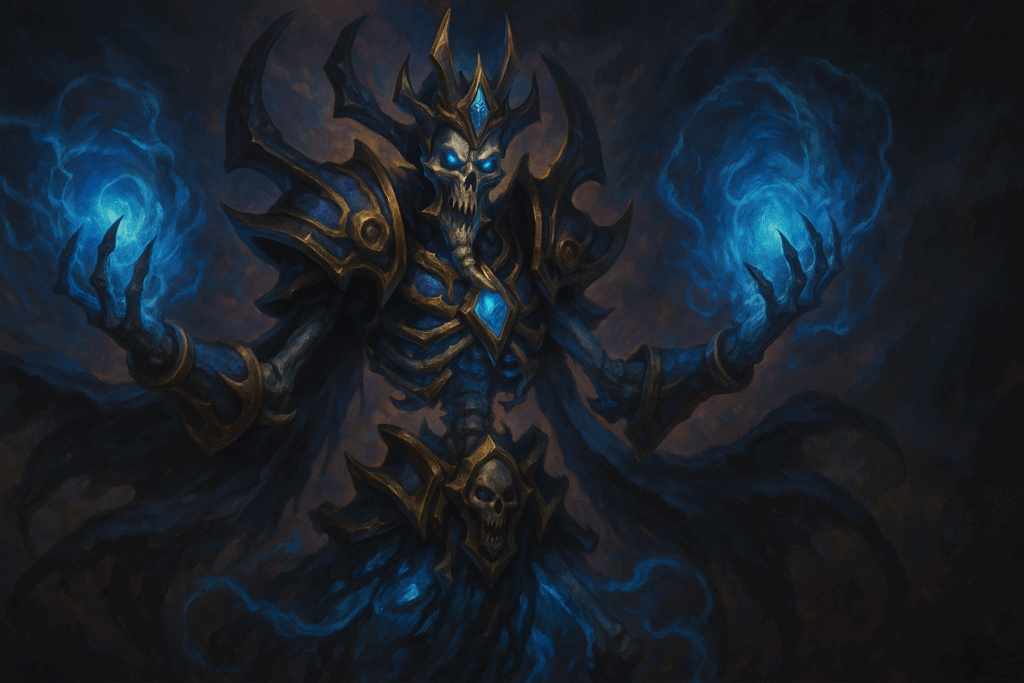
If you are looking for the best Kel'Thuzad build in HOTS and how to land combos that actually win games, this guide breaks it down in a practical, real-match way. Kel'Thuzad is a combo assassin who wins by controlling movement, punishing predictable paths, and turning one clean chain setup into a target that simply disappears.
This guide helps you stop fishing for random chains and start using Kel'Thuzad's combo windows with much more patience and purpose.
He feels strongest when the enemy takes one ordinary step into a choke and suddenly the whole fight ends around that decision.
Hero Identity and Role Breakdown
Kel'Thuzad is one of the most punishing assassins in the game when movement gets readable. Chains, roots, and burst all become much more reliable once a target is pinned by terrain, crowd control, or the pressure of an objective they cannot simply abandon. When the setup is there, very few heroes survive the full punish.
But he is also one of the easiest heroes to make look fake if you rush. Throwing chains without context, forcing full combos into mobile targets with every answer up, or standing too close just to reach the button are all classic ways to make Kel'Thuzad feel worse than he is. He needs the moment, not just the mechanics.
Kel'Thuzad Abilities Explained
Master of the Cold Dark (Trait - D) Complete quest by hitting heroes to unlock Glacial Spike bonus damage. Death and Decay (Q) Create a decaying area that deals damage over time and slows enemies. Frost Nova (W) Root target enemy and nearby enemies after a short delay. Chains of Kel'Thuzad (E) Connect two enemies with chains that deal damage and pull them together. Frost Blast (R1) Launch a projectile that roots and spreads to nearby enemies. Shadow Fissure (R2) Create a massive delayed explosion in target area.
Kel'Thuzad damage is terrifying, but the hero really works through control. Once Chains of Kel'Thuzad and your follow-up pin someone in place, the burst feels almost automatic.
How to Play Kel'Thuzad (Step-by-Step)
- Play the map until movement gets constrained enough that Chains become honest
- Use your tank, terrain, or retreat path to narrow choices before the combo starts
- Cast for trapped movement, not merely visible movement
- Stand one step farther back than your hands want to so the combo still has a pilot afterward
- Treat every choke and wall as part of the setup, not just scenery
How to Play Kel'Thuzad Effectively
Kel'Thuzad is a lot less feast-or-famine once you stop forcing his combo into open, comfortable movement. In lane and early fights, the real job is to figure out who is willing to walk predictable paths and which allies can help you make those paths even tighter. If that groundwork is there, his punish becomes terrifyingly consistent.
In teamfights, this hero wins by turning one constrained step into a death sentence. A chain near terrain, a root on the retreat line, or a tank stun in the right lane can all make the full burst feel automatic. That is why he can win fights instantly even if the scoreboard looked quiet five seconds earlier.
Around objectives, Kel'Thuzad gets paid whenever the map itself helps him. Shrines, turn-ins, and narrow corridors all make the combo easier to trust and much harder to escape. Once movement stops being free, the whole hero gets mean in a hurry.
The beginner-friendly version is simple: do not force chains into clean movement, let your tank or the map help you, and treat the full combo like a punish tool instead of a default opener.
In some games, Kel'Thuzad can feel like he is one hit away from carrying and never quite getting it - that is normal. He takes over once the enemy has to move through tighter space or finally loses the mobility that was making your combo awkward.
Best Kel'Thuzad Builds (Level 1 to 20)
The Plaguelands at level 1, Phylactery of Kel'Thuzad at level 4, Armor of the Archlich at level 7, Frost Blast at level 10, Power of Icecrown at level 13, Chilled to the Bone at level 16, The Damned Return at level 20
Gameplay Focus - Chain Combo Master
Spell Combos, Burst Damage, Team Fighting
This build transforms Kel'Thuzad into the ultimate combo mage who excels at chaining devastating spell sequences that can instantly eliminate multiple enemies. The Plaguelands provides the foundation by making Death and Decay your primary waveclear and poke tool while offering crucial mana sustain for extended laning phases. Phylactery of Kel'Thuzad is essential for survivability, granting you a second chance when you inevitably get caught in aggressive positioning during combo attempts. Armor of the Archlich provides the defensive foundation necessary for aggressive spell casting, reducing the punishment for being in range to execute your devastating combos. Frost Blast serves as your primary teamfight initiation tool, capable of rooting multiple enemies and setting up perfect chain combos that can win entire teamfights. The late-game talents focus on maximizing your spell rotation effectiveness, with Power of Icecrown dramatically reducing your cooldowns and enabling rapid combo sequences, while Chilled to the Bone ensures your spells deal maximum damage to slowed enemies. The Damned Return provides incredible teamfight presence by allowing you to continue fighting even after death.
The Plaguelands : Death and Decay becomes your primary poke and sustain tool. Phylactery of Kel'Thuzad : Death protection enables aggressive combo attempts. Armor of the Archlich : Spell armor provides survivability during casting sequences. Frost Blast : Multi-target root sets up perfect chain combo opportunities. Power of Icecrown : Massive cooldown reduction enables rapid spell rotations. Chilled to the Bone : Bonus damage against slowed enemies maximizes combo impact. The Damned Return : Continue fighting as a shade after death for extended teamfight presence.
Always lead with Chains of Kel'Thuzad to set up your combo sequence. Use Frost Blast to root multiple enemies before executing your full rotation. Position aggressively knowing Phylactery will save you from assassination attempts. Power of Icecrown allows you to cast multiple combo sequences in a single teamfight.
In short, You're the combo devastation specialist. Chain your spells together to instantly eliminate entire enemy teams.
This build looks absurd on paper, but it falls apart quickly if the enemy can keep movement loose and never gives you the anchored combo window you are waiting for.
This wins fights instantly when one caught target turns into an immediate numbers advantage the enemy cannot stabilize from.
Alternative Kel'Thuzad Build (Level 1 to 20)
Barbed Chains at level 1, Corpse Feeders at level 4, Chilling Touch at level 7, Shadow Fissure at level 10, Icy Grasp at level 13, Death and Decay at level 16, Might of the Scourge at level 20
Gameplay Focus - Death and Decay Controller
Area Control, Sustained Damage, Zone Denial
This build reimagines Kel'Thuzad as a methodical area controller who excels at sustained pressure and battlefield manipulation through superior zone denial and persistent damage effects. Barbed Chains dramatically increases your crowd control potential by making your chains slow enemies, creating powerful synergies with your other slowing effects and making it much easier to land follow-up abilities. Corpse Feeders transforms your minion interactions into powerful sustain tools, providing both health and mana restoration that enables extended laning phases and sustained teamfight presence. Chilling Touch creates a powerful damage amplification effect that makes all your abilities more threatening against slowed enemies, encouraging you to layer your slowing effects for maximum impact. Shadow Fissure becomes your primary area denial tool, capable of controlling large areas and forcing enemy positioning mistakes through its massive damage threat and long-range casting. The late-game focuses on maximizing your area control potential, with Icy Grasp making Frost Nova into a powerful area control tool and the upgraded Death and Decay providing incredible sustained damage and area denial that can single-handedly control teamfight positioning.
Barbed Chains : Chains slow enemies, enhancing combo setup and escape denial. Corpse Feeders : Minion kills provide sustain for extended laning and teamfighting. Chilling Touch : Bonus damage against slowed enemies creates powerful synergies. Shadow Fissure : Long-range area denial for objective and teamfight control. Icy Grasp : Frost Nova gains area effect for superior crowd control. Death and Decay : Enhanced area damage and control for teamfight dominance. Might of the Scourge : Spell power scaling makes late-game devastating.
Use Barbed Chains to create slowing zones rather than just damage. Corpse Feeders makes you incredibly sustainable in lane - abuse this advantage. Shadow Fissure works best when cast on retreating enemies or chokepoints. Layer your slowing effects to maximize Chilling Touch damage bonuses.
In short, You're the methodical zone controller. Use persistent effects and area denial to slowly strangle your enemies' positioning options.
If the enemy is too slippery for clean all-ins, this route gives Kel'Thuzad steadier control over space until the perfect catch finally appears.
Common Player Mistake
Most Kel'Thuzad players fail here. They throw Chains the first moment something is visible instead of the moment something is trapped. In real matches, this is where Kel'Thuzad starts taking over: after the enemy uses mobility, after a tank stun lands, or when a retreat path narrows against terrain. If the target is still free to choose any direction, it is probably too early.
If you ever feel useless on Kel'Thuzad, it is usually because you are trying to combo movement that was never actually constrained enough to deserve the cast.
Kel'Thuzad is not a random chain hero. He is a movement check with a death sentence attached.
Real Match Situations
A frontline engage pins someone near a wall. That is the real Kel'Thuzad signal. Terrain and control together make the combo feel terrifyingly honest.
An enemy retreats through a narrow route. You do not always need a flashy opener. Kel'Thuzad gets paid when the escape path itself becomes the trap.
The enemy backline is still holding mobility. This is usually the wrong time to rush the full sequence. Patience often turns a missed combo into a guaranteed one ten seconds later.
One Thing to Know
Kel'Thuzad looks hardest when he is rushed and easiest when the enemy has already lost the right to move cleanly.
What Changes Through the Match
Early game Kel'Thuzad is building confidence and checking which opponents actually respect his combo space. Mid game objective fights make his control tools much deadlier because movement becomes more scripted. Late game, one caught carry or healer often ends the fight outright because there is no time left to recover from a clean combo death.
Advanced Tips
Always lead with Chains of Kel'Thuzad to set up your combo sequence. That is where the hero's space control stops looking annoying and starts feeling impossible to walk through.
Use Frost Blast to root multiple enemies before executing your full rotation. Used on the real route, it forces the enemy into the exact mistake you wanted.
Use Barbed Chains to create slowing zones rather than just damage. That one disciplined placement is usually what makes the whole setup feel unfair.
Corpse Feeders makes you incredibly sustainable in lane - abuse this advantage. This is the point where the other team stops choosing freely and starts reacting to your ground.
Limitations
Kel'Thuzad struggles into hyper-mobile comps, dives that reach him before setup exists, and enemies who can constantly deny the first chain opportunity. He is devastating when movement is readable and much lighter when it is not.
FAQ
When should I pick Kel'Thuzad? Pick Kel'Thuzad when your team can help constrain movement, when the map has predictable corridors, or when the enemy comp has carries that hate being hard-punished by one catch.
Is Kel'Thuzad good in solo queue? He can work in solo queue, but he rewards patience more than ego. He looks much better when you wait for the real trap than when you force the first combo you see.
What should I focus on most in fights with Kel'Thuzad? Focus on the moment movement stops being free. That is where Kel'Thuzad damage becomes realistic instead of theoretical.
What is the biggest mistake on Kel'Thuzad? The biggest Kel'Thuzad mistake is firing the combo at a target that still has every reasonable way to dodge or reposition.
What habit improves Kel'Thuzad the fastest? The fastest improvement is learning which forms of allied control or terrain make your chain window truly honest.
Related Guides
If you enjoy assassins that take over games in different ways, also check our Jaina guide, Chromie guide, and Li-Ming guide.
Final Thoughts
Kel'Thuzad becomes much more rewarding once you stop asking the hero to do everything at once and start leaning into what actually makes them special. If you master these fundamentals, Kel'Thuzad becomes one of the most impactful assassins in Heroes of the Storm.