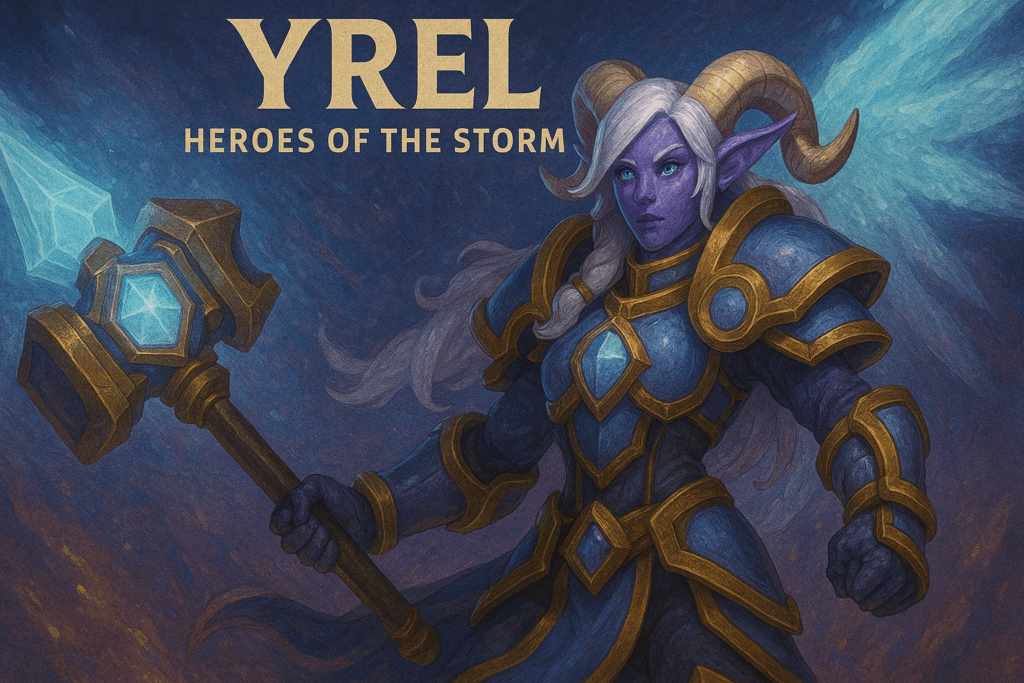
🌟 Who is Yrel?
Yrel’s journey began as a humble acolyte of the Draenei, studying peacefully in the Temple of Karabor on Draenor. When the Iron Horde attacked, she was thrust into the role of a reluctant warrior, mentored by the Prophet Velen himself who saw great potential in her despite her initial self-doubt.
Through trials, sacrifices, and personal loss, Yrel evolved from a hesitant priestess into a fearless paladin and eventually one of the most powerful champions of her people. Her defining moment came at the battle of Shattrath, where she helped defeat the Iron Horde’s warlord Blackhand. Following Velen’s noble sacrifice, Yrel took up his hammer and accepted her destiny as a leader.
In the aftermath of the war against the Burning Legion on alternate Draenor, Yrel was elevated to the position of Exarch—a high leader of the Draenei—and eventually underwent the Lightforging process, enhancing her already formidable Light-based powers. As the Lightforged Exarch, she leads her people with wisdom, strength, and unwavering dedication to the Light, embodying hope and resilience in the face of overwhelming adversity.
Yrel, the Lightforged Exarch and champion of the Draenei, brings her holy powers to the Nexus. As a versatile bruiser with incredible sustain and utility, Yrel excels at disrupting enemy formations, absorbing massive damage, and creating space for her team through precise ability timing and positioning. If you love methodical gameplay that rewards patience and planning, punishing enemies with charged holy abilities, and turning near-death situations into miraculous reversals, the Light’s chosen champion awaits your command.
Main Roles:
🛡️ Bruiser | 🧪 Point Control | ✨ Sustainability
🔨 Abilities (Quick Look)
Divine Purpose (Trait – D): Instantly empower your next basic ability, removing channeling time.
Vindication (Q): Channel to strike the area, dealing damage and healing yourself.
Righteous Hammer (W): Channel to leap to an area, damaging and slowing enemies.
Avenging Wrath (E): Channel to dash in a direction, dealing damage to enemies in your path.
Ardent Defender (R1): Redirect damage taken to heal over time.
Sacred Ground (R2): Create a holy area that grants armor while standing in it.
🎮 Gameplay Guide
Yrel dominates the battlefield through methodical ability usage, careful positioning, and expert timing of her trait to maximize impact in key moments.
✅ Early Game
- Use charged abilities to clear waves efficiently.
- Conserve your trait for emergency escapes or guaranteed damage.
- Trade effectively with Vindication’s self-healing.
✅ Teamfights
- Pre-charge abilities before engaging when possible.
- Use Righteous Hammer to disrupt enemy positioning.
- Time Ardent Defender to counter enemy burst damage.
✅ Objective Control
- Establish dominance on point objectives with your sustain.
- Zone enemies with fully charged abilities.
- Use your mobility to contest multiple areas quickly.
🌟 Builds & Gameplay Focus
⚔️ Holy Avenger Sustained Bruiser Build
Level 1: Maraad’s Insight
Level 4: Gift of the
Naaru
Level 7: Righteous Momentum
Level 10:
Ardent Defender
Level 13: Aldor Peacekeeper
Level
16: Templar’s Verdict
Level 20: Word of Glory
Focus: Sustain, Point Control, Enemy Disruption
The Lowdown:
This build transforms Yrel into the quintessential
sustainable bruiser — a holy warrior who simply refuses to die while methodically
wearing down opponents. You’re not here for quick kills or flashy plays. Your
purpose is more fundamental: you control space, absorb punishment, and gradually
overwhelm enemies through superior resource management. With Ardent Defender as your
heroic, you gain incredible survivability that turns enemy burst damage into a source of
healing, allowing you to bait out important cooldowns and still emerge ready to fight.
The build focuses on maximizing your sustain through calculated ability usage and healing optimization. By level 7, with Righteous Momentum, your movement abilities become powerful engagement tools that synergize with your trait usage. Templar’s Verdict at 16 transforms your sustained damage into formidable threat against priority targets, ensuring you’re not just surviving but actively threatening enemy backlines. Word of Glory at 20 provides the ultimate safety net for both yourself and crucial allies, cementing your role as a bulwark of the Light.
Where other bruisers might falter under focused fire, you endure, regenerate, and continue to pressure enemies with the relentless power of the Light.
The Core Loop & Synergy:
- Maraad’s Insight (1) empowers basic attacks to heal after using abilities.
- Gift of the Naaru (4) provides powerful targeted healing.
- Righteous Momentum (7) increases movement speed after using movement abilities.
- Ardent Defender (10) converts damage into healing over time.
- Aldor Peacekeeper (13) reduces enemy damage dealt when hit by Righteous Hammer.
- Templar’s Verdict (16) deals bonus damage to enemies hit by three different abilities.
- Word of Glory (20) provides powerful healing and armor to low health allies.
Key Tactics & Pro Tips:
- Weave basic attacks between abilities to maximize Maraad’s Insight healing.
- Track enemy cooldowns to time Ardent Defender for maximum value.
- Use Righteous Hammer with Divine Purpose to quickly apply Aldor Peacekeeper’s effect.
- Position to hit multiple enemies with abilities to set up Templar’s Verdict opportunities.
In short: You’re the immovable object. You dictate where and when fights happen, absorb punishment that would kill lesser heroes, and gradually wear down enemies through sustained pressure and presence.
⚔️ Divine Wrath Mobility Build
Level 1: Light of Karabor
Level 4: Hand of
Freedom
Level 7: Righteous Momentum
Level 10:
Sacred Ground
Level 13: Repentance
Level 16:
Holy Avenger
Level 20: Hallowed Ground
Focus: Mobility, Area Control, Team Protection
The Lowdown:
This build transforms Yrel from a stationary wall into a
highly mobile battlefield controller with superior area denial capabilities. Rather than
simply absorbing damage, you become a constant threat across multiple fronts, using your
enhanced mobility to secure advantageous positions and create zones of control with
Sacred Ground. Perfect for maps with spread objectives or against compositions that rely
on positioning, this build rewards proactive play and spatial awareness.
Light of Karabor at level 1 supercharges your Avenging Wrath, turning it into an effective waveclear and harassment tool. Hand of Freedom at 4 gives both mobility and unstoppable status to yourself or allies, creating play-making opportunities and saving teammates from certain death. Sacred Ground at 10 transforms any location into your personal sanctuary, providing incredible point control for objectives and forcing enemies to either engage you on your terms or cede valuable space.
While slightly less durable than the sustained build in direct confrontations, you compensate with superior positioning options, area control, and the ability to rapidly respond to developing threats across the battlefield.
The Core Loop & Synergy:
- Light of Karabor (1) increases Avenging Wrath range and refunds mana for hero hits.
- Hand of Freedom (4) grants movement speed and Unstoppable to yourself or allies.
- Righteous Momentum (7) increases movement speed after using movement abilities.
- Sacred Ground (10) creates a zone granting armor while standing in it.
- Repentance (13) increases slow from Righteous Hammer.
- Holy Avenger (16) grants additional Avenging Wrath charges.
- Hallowed Ground (20) allows Sacred Ground to move with you.
Key Tactics & Pro Tips:
- Use Avenging Wrath to quickly reposition around Sacred Ground during fights.
- Time Hand of Freedom to counter enemy crowd control abilities.
- Leverage your multiple Avenging Wrath charges to pursue retreating enemies.
- With Hallowed Ground, position to force enemies to either fight in your consecrated area or retreat.
In short: You’re the holy storm. You control the battlefield through superior mobility and area denial, forcing enemies to fight on your consecrated ground or suffer the consequences of yielding space.
📊 Final Thoughts
Yrel’s unique charge-based gameplay and incredible sustain make her one of the most resilient and adaptable bruisers in the Nexus. Whether you’re standing your ground as an immovable bulwark or controlling space with holy mobility, Yrel rewards patience, timing, and battlefield awareness.
Embrace the power of the Light, channel your inner paladin, and show them why the Lightforged Exarch is both shield and hammer to her allies! 🌟✨